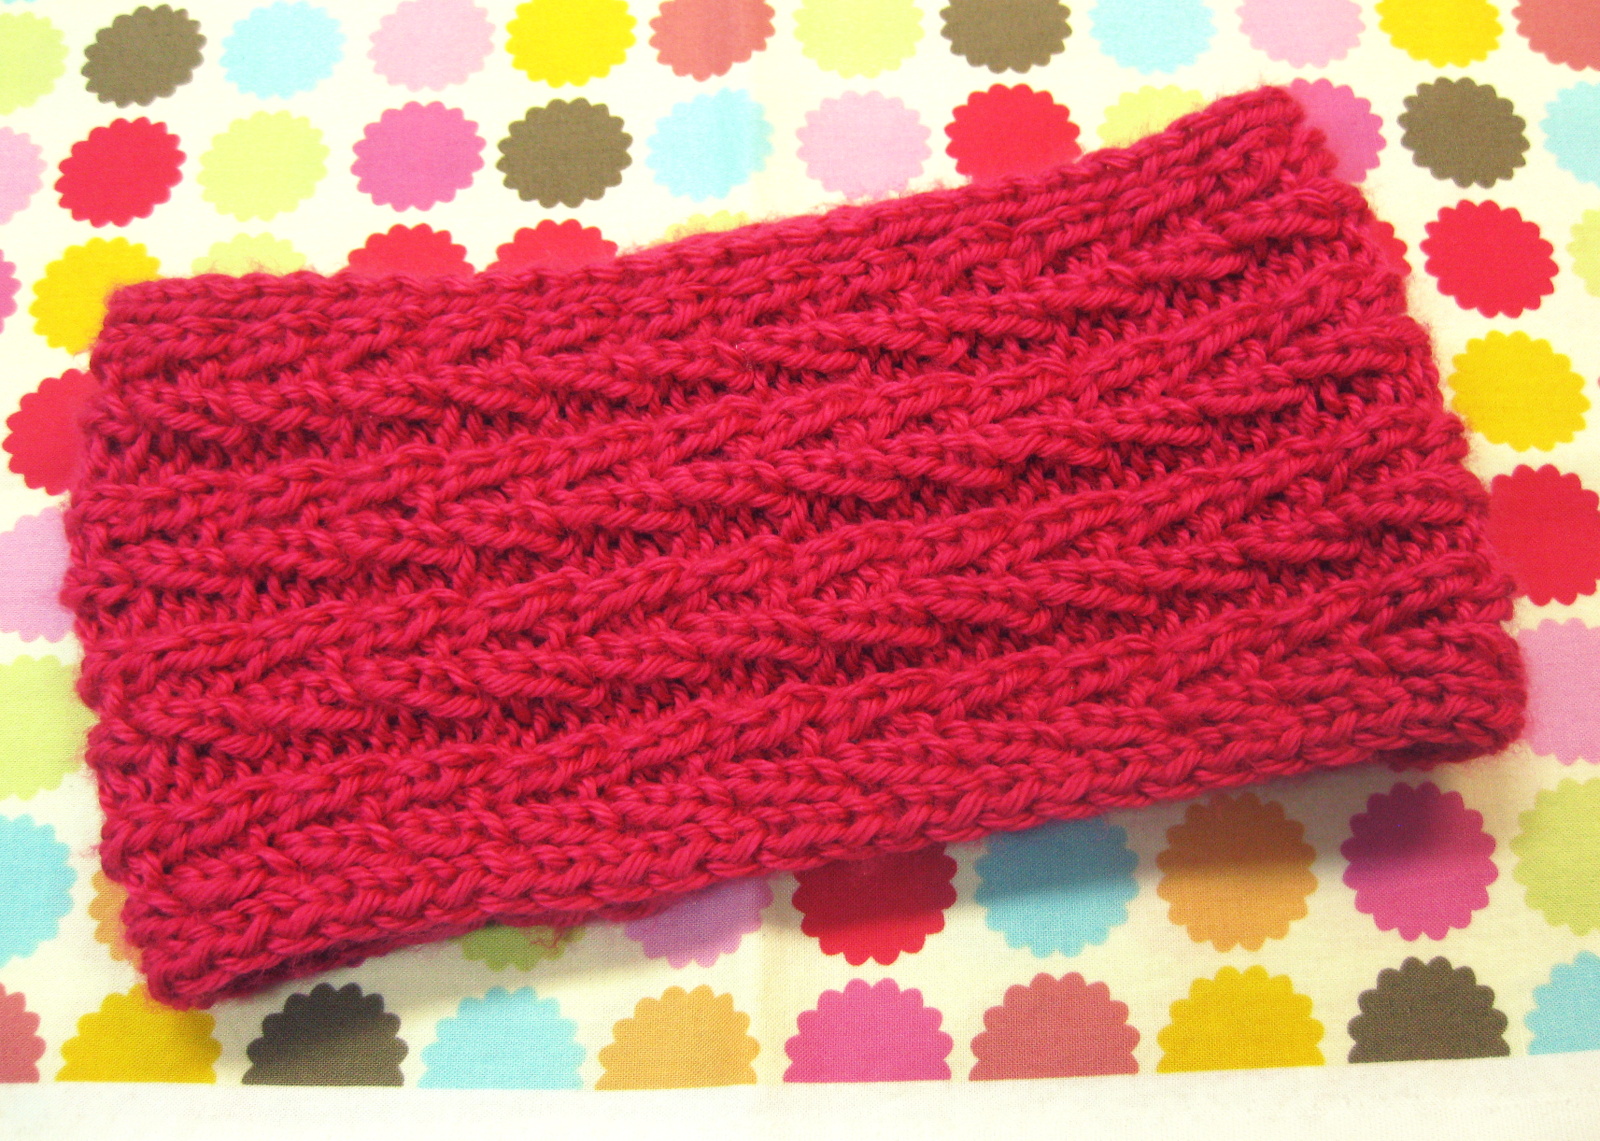
After a long absence of patterns on this blog….
I present to you the Fishtail-Cable Headwarmer.
It’s quick.
It’s warm.
And it’s cute.
The cable pattern is a unique design that resembles a fishtail braid.
I like to wear the headwarmer on my way to Krav Maga. It gives me the warmth of a hat, while still allowing me to wear my hair in a ponytail.
So without further adieu….
Fishtail Cable Headwarmer
Skill Level: Intermediate
Size (one size fits most): 5″ wide and 18″ circumference (It can stretch larger)
Gauge: 5 sts and 5 rows in fishtail-cable pattern = 1″
Stitches and Abbreviations: K (knit), P (purl), C2F (cable two front), C2B(cable two back), S1kw (slip one stitch knitwise), S1pw (slip one stitch purlwise)
Note: When stated, repeat the instructions written within the asterisks (*)
-Materials-
- 1 skein Caron Simply Soft, hot pink (or desired worsted weight yarn)
- size 8 (5.0 mm) knitting needles
- cable needle
- stitch markers (a scrap of yarn will do the trick if you don’t have the real deal)
-Fishtail Cable Pattern-
Row 1: *P1, C2F, C2B, P1* repeat to end. (right side)
Row 2: *K1, P1, K2, P1, K1* repeat to end. (wrong side)
Row 3: *P1, K1, P2, K1, P1* repeat to end.
Row 4: *K1, P1, K2, P1, K1* repeat to end.
Repeat the above four rows as directed.
-Headwarmer-
- Cast on 28 stitches.
- S1kw, K1, place stitch maker, *P1, K1, P2, K1, P1* repeat till there are 2 stitches left, place stitch marker, K2. (right side)
- S1pw, P1, slip the stitch maker, *K1, P1, K2, P1, K1* repeat to marker, P2. (wrong side)
- Repeat numbers 2 and 3.
- S1kw, K1, work cable pattern to marker, K2.
- S1pw, P1, work cable pattern to marker, P2.
- Repeat numbers 5 and 6 till headwarmer measures 18″ long (ending on Row 1 of the cable pattern)
- S1pw, P1, *K1, P1, K2, P1, K1* repeat to marker, P2.
- Slpw, K1, *P1, K1, P2, K1, P1* repeat to marker, K2.
- Repeat number 8.
- Bind off in stitch pattern, being careful not to bind off too tightly.
- Sew both ends together and–ta-da!–you have your very own Fishtail-Cable Headwarmer.
PDF (Printer Friendly Version): Fishtail-Cable Headwarmer
Leave me a comment if you have any questions. Happy knitting! :)


